 Crocs
CrocsBuying guide
10 Toddler Winter Shoe Checks for Cold, Wet Days
A layered guide to warmth, waterproofing, tread, socks and indoor transitions.
Start here
A winter boot is a small system: sock, lining, upper, closure, outsole, and the adult routine that gets everything dry. If one layer is mismatched, a warm-looking product can become difficult to put on or remain damp between outings. The ten checks below follow a winter day from dressing to outdoor use and back indoors. Use local weather and actual exposure time to set priorities; a short urban walk and extended snow play should not produce the same shortlist.
Define the cold-and-wet problem precisely
Check one is the expected condition: dry cold, slush, steady rain, deep snow, or a mix. “Winter” does not tell you which barrier the shoe needs. Check two is the duration and route. A child carried most of the way has a different exposure from one walking to daycare. Check three is the exact waterproof or water-resistant statement, including whether protection covers the full upper or only the lower shell. Read seams, gussets, and shaft height alongside the claim. Snow can enter over a low collar even when the material itself resists water. Avoid translating insulation grams or brand adjectives into a guaranteed comfort temperature unless the manufacturer provides model-specific guidance and explains the conditions behind it.
Fit the boot as a sock-and-opening system
Check four is sock choice. Use the thickness planned for ordinary wear; adding a bulky layer after fitting can reduce circulation space and closure travel. Check five is opening access. Winter boots often combine tall shafts, gusseted tongues, and stiff new materials, so confirm the foot enters without force and the heel reaches the back. A side zip, wide flap, or pull-on design changes the routine but does not guarantee suitability for a high instep. Measure both feet with the brand method and compare width and volume, not length alone. The closure should secure the foot without compressing the upper or leaving the heel lifting through every step. Do not size far ahead to make dressing easier.
Inspect traction without promising slip prevention
Check six is tread suited to the intended path. Examine lug depth, spacing, flexibility in cool conditions, and whether the brand names snow or winter use. A rugged pattern can help with surface contact, but no toddler boot prevents falls on ice. Route choice, hand support, pace, and maintenance remain important. Check seven is the sole’s bend and weight. A boot can be protective without requiring exaggerated leg lifting, yet very soft soles may not suit rough frozen ground. During an indoor trial, watch several ordinary steps, turns, and a squat while the child wears the planned socks. Compare movement with a familiar pair rather than judging from a hand-flex demonstration alone.
Look for snow-entry and closure failure points
Check eight is how the top works with pants or a snowsuit. A wide gap can admit snow; an overstuffed cuff can keep the closure from landing securely. Practice the actual layering order before the return period ends. Hook-and-loop may collect snow or lint, zippers need a clear path, and drawcord systems can have age-specific cautions. Follow product instructions and supervise dressing. Reflective details may improve visibility when illuminated but do not replace lighting, bright outerwear, or adult oversight. Decorative fur and plush collars should be evaluated for drying and debris, not assumed to provide functional insulation. If the exact listing omits closure or lining materials, record the gap rather than borrowing details from a similar boot.
Plan the indoor transition and drying cycle
Check nine is what happens after arrival. A heavily insulated boot can be unsuitable for hours of indoor wear, while daycare may require a separate inside pair. Confirm storage space, labeling rules, and whether staff will change footwear. Check ten is overnight recovery. Read whether insoles or liners are removable, how salt and mud should be cleaned, and which heat sources are prohibited. Open closures and allow airflow as directed; trapped dampness can persist where the exterior looks dry. A backup pair becomes valuable when the primary boot cannot recover before the next outing. It should fit currently and cover the route, not be an oversized hand-me-down kept only for emergencies.
Create a weather threshold for each pair
For every finalist, write the conditions it covers and those it does not. One pair might handle cold dry sidewalks and brief flurries, while a taller waterproof boot is reserved for slush or sustained snow. This prevents the warmest-looking option from being worn indiscriminately. Recheck fit after changing sock thickness and as the season progresses; growth and compressed linings can alter the result. After an outdoor session, inspect both feet for repeated marks and ask about comfort without leading the answer. Stop using a pair that causes pain, persistent redness, or changed walking, and seek suitable advice when concerns continue. A winter system succeeds through clear boundaries, not one universal boot claim.
Prepare for one boot becoming wetter than the other
Puddles, snowbanks, and car entry can soak one side first. Dry and inspect each boot separately rather than assuming the pair recovers at the same rate. Check liners and insoles by touch only as the care instructions allow, and keep the wetter boot out of service until fully ready. Uneven recovery also helps reveal a seam, closure, or habit that deserves attention. A labeled backup pair prevents one damp boot from forcing an unsuitable substitute on the next cold morning.
Reviewed model starting points
Compare current exact Amazon offers
These model families connect to a verified direct Amazon listing. Check the selected size, width and color because availability and features can vary.
As an Amazon Associate I earn from qualifying purchases.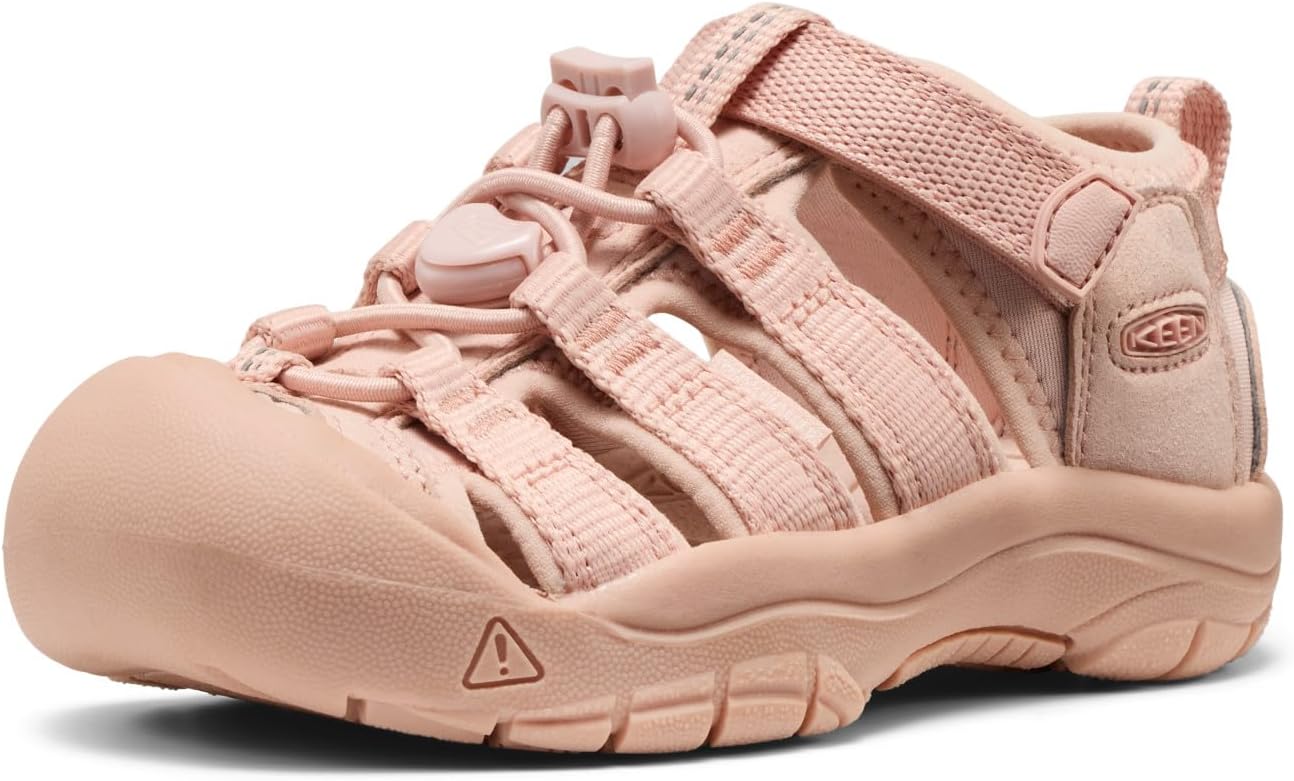

Caregiver questions
Should winter boots be one size larger for thick socks?
Do not apply an automatic size jump. Measure, use the intended sock, and follow the exact chart; extra length can reduce heel control without solving volume.
Is waterproof the same as suitable for deep snow?
No. Shaft height, cuff design, seams, closure, and exposure all matter. Verify what the model’s waterproof claim covers and compare it with the route.
Can insulated boots stay on all day indoors?
That depends on the product and setting. Many routines work better with a separate indoor pair; check daycare policy and observe heat or dampness.
How should salt be removed from toddler boots?
Use the manufacturer’s care method for the exact materials. Avoid improvised cleaners or direct heat that may discolor, stiffen, or weaken the construction.