 KEEN
KEENFit & Sizing
How Should Toddler Sandals Fit? Use the Footbed Map
Check toddler sandal fit by mapping toes, forefoot, heel and straps to the footbed, then watching forward slide, turning and crouching.
Start here
Toddler sandals should keep every toe and the heel supported by the usable footbed, align the broad forefoot with the broad part of the sandal and prevent repeated forward or sideways sliding. Straps should hold without digging or sitting at their adjustment extremes. Fit the exact open-, closed- or covered-toe design on both feet during movement.
Draw the usable-footbed boundary
Before the child puts the sandal on, identify the part intended to support the foot. Decorative outsole edges, raised bumpers and deep cups can make the platform look larger than the usable surface. Note where the heel cup begins, where the forefoot widens and where straps cross. In an open-toe design, the visible front edge is not a growth target; the foot must remain positioned during walking, not merely fit inside the outline while seated.
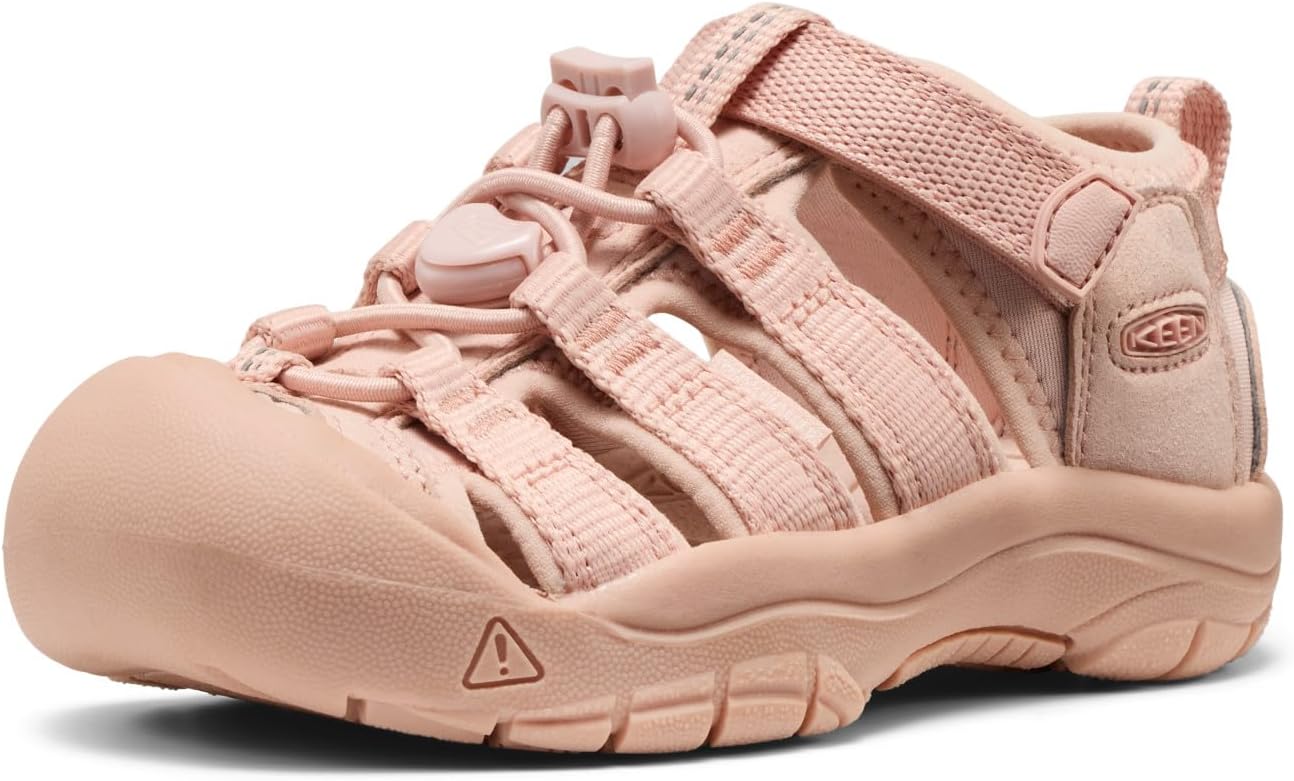
For a closed-toe sandal, use the chart and approved fit method because the shell hides the toe boundary. For a covered-toe design with openings, do not assume visibility through one cutout reveals the longest toe. Read the geometry first, then open every adjustable strap so the foot can land in its natural position. A sandal fitted over a partially fastened upper often looks short because the heel never reached the back.
Place the heel before evaluating the front
Seat the heel at the intended rear position without forcing it against a hard rim. Fasten a heel or ankle strap with ordinary tension, then have the child stand. If the sandal has no back strap, recognize that it offers a different security system and decide whether that matches the walking route. The heel should not hang over the footbed or travel sideways off it during a turn.
Only after the heel is placed should you judge front room. A foot that has slid forward can make a long sandal look correct while leaving empty space behind. Conversely, pulling an ankle strap too tightly can drag the foot back and create pressure. Use strap settings to secure the intended position, not to manufacture a particular-looking gap. Compare both feet because one may sit differently in the same model.
Map every toe and the broad forefoot
With the child standing, confirm that no toe crosses the side or front boundary and that toes lie flat rather than grip the footbed. The longest toe may not be the big toe. Look across the width: the joints at the ball of the foot should align with the broad portion of the sandal rather than spill over a raised edge or sit behind a narrowing. Toe separators, front loops and asymmetrical straps need especially careful placement.
Do not move up in length solely to escape a narrow strap layout. A longer sandal can place the bend and strap anchors ahead of the foot while increasing sliding. Seek a wider or differently arranged upper. In a closed-toe version, inspect the upper for bulging and gently use the maker's fit guidance. Toe coverage changes visibility, not the need for length and width to work together.
Read each strap as a position marker
Check the forefoot, instep, ankle and heel straps separately. Each should lie where the design intends, without crossing toe joints awkwardly, pressing a buckle into skin or pulling the foot toward one side. Adjustable tabs should engage securely within their useful landing areas. A strap barely attached suggests insufficient volume; a tab passing far beyond its intended patch may indicate excess space. Fixed elastic should not leave concentrated marks after a brief trial.
Then look at the spaces between straps. Open areas can expose a side edge to rubbing when the foot shifts, and a decorative seam can contact the skin despite generous overall room. Run a finger along accessible interior edges and inspect for roughness, but do not assume hand feel predicts every pressure point. The standing and movement checks reveal where the child's foot actually meets the upper.
Watch the chalk-line walk without chalk
Use an existing floor seam or tile line as a visual path; do not mark the floor. Invite the child to walk along it, turn around, crouch for a toy and rise. Watch from front, side and rear. Does the foot slide forward at each stop, twist across the footbed on turns or cause toes to grip? Does the heel strap remain in place? A sandal can look perfectly centered while standing and become unstable through a single direction change.
The line is not a balance test and should not be made narrow or challenging. It simply gives the caregiver a consistent viewing angle. Compare the left and right sandal. If one drifts, refasten once normally. Repeated drift calls for a size or shape decision, not progressively tighter straps. Stop if the child reports rubbing or shows a footwear-specific change in gait.
Match openness to the route after fit passes
A well-fitting sandal can still be the wrong type for a route. Open toes and large side openings expose the foot to surfaces and admit debris. Closed-toe designs add coverage but may retain more sand or water and hide toe position. A secure walking sandal for a paved summer outing is a different tool from a quick slide for a controlled transition. Consider ground, distance, play rules, water exposure and whether the child will wear socks.
If the day moves between rough ground and indoor activities, a closed everyday shoe may cover more of the schedule. If water is central, verify that the sandal is actually intended for that exposure and can be cleaned and dried as directed. Do not infer use from the amount of skin visible. Product purpose and construction still need to match the day.
Approve, record and recheck the strap map
Keep the candidate when the heel and all toes stay on the usable footbed, the forefoot aligns, straps secure without extremes and movement does not cause repeated slide or rotation. Record the size, sock or barefoot setup and where adjustable tabs land. This creates an easy recheck as the foot grows: a tab moving toward its limit or toes approaching an edge prompts measurement rather than guesswork.
Inspect feet after the first short outing and sandals after debris-prone use. Empty particles, clean and dry according to the exact directions, and confirm straps and footbed remain sound. Recheck after a growth change, new sock setup or period in storage. An open design makes growth visible, but visibility should not encourage wearing until toes reach the edge. Re-measure and replace before support boundaries are lost. Photograph the normal strap positions only as a comparison aid; a later difference is a prompt to refit, not permission to keep tightening around a growing foot.
Reviewed model starting points
Compare current exact Amazon offers
These model families connect to a verified direct Amazon listing. Check the selected size, width and color because availability and features can vary.
As an Amazon Associate I earn from qualifying purchases.
Caregiver questions
Should a toddler's toes reach the edge of a sandal?
No. Toes should remain supported by the usable footbed during standing and movement, with the maker's intended allowance. Replace or resize before toes cross the front or sides.
Why does my toddler's foot slide forward in sandals?
Possible causes include excess length, too much volume, strap placement, heel-strap behavior or footbed shape. Seat the heel and refasten once normally; if sliding repeats, compare another size or model rather than overtightening.
Are closed-toe sandals fitted differently?
They hide the toe boundary, so the exact chart and maker's fit method matter more. The same whole-foot checks still apply: toe room, forefoot alignment, heel control, strap range and movement.
Can a sandal be too wide even when the straps adjust?
Yes. Straps pulled to an extreme can leave the foot rotating or place anchors incorrectly. The footbed shape and upper layout must match the foot without relying on maximum tightening.